We LOVE her… but chrome can be a diva.
It lifts. It smears. It clings to places it shouldn’t. One wrong brush or mistimed topcoat, and suddenly your slick silver outline looks like a glitter bomb went off.
But it doesn’t have to be this hard.
Today, we’re walking you through two tried-and-true ways to create clean chrome nail designs, both designed to cut down on cleanup while keeping your reflection game blinding.
- The Precision Method: FinePrint, Slick Matte, and Pressed Chromes for crisp outlines, micro details, and designs that only grab chrome where you want them to.
- The Quick Method: Black Void, Heavy Metals, and Hi-Def Topcoat for full coverage or accents in four steps flat.
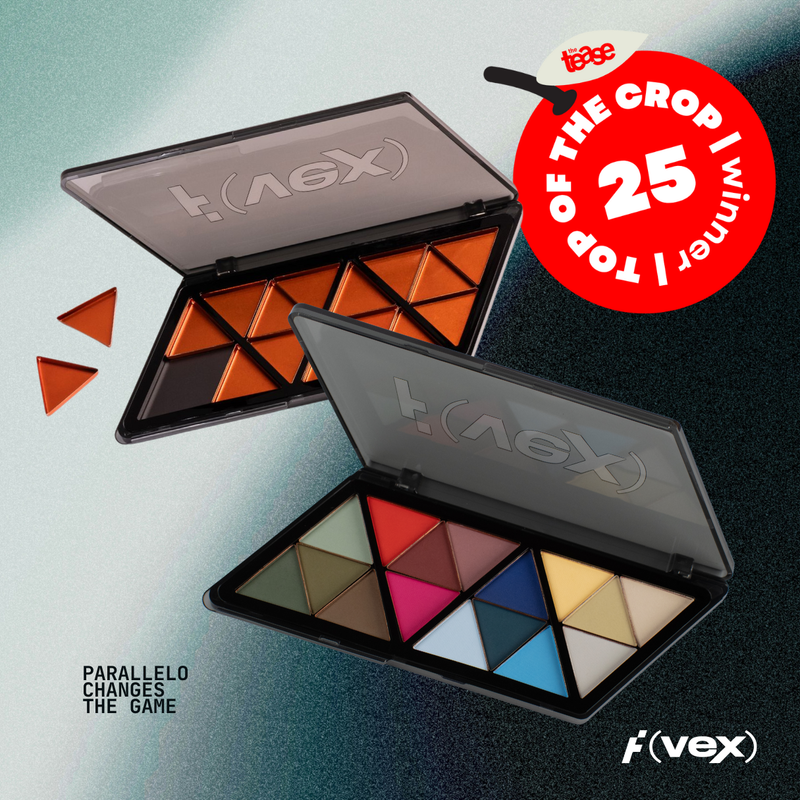
Side note for the chrome-obsessed: Every shade in our Heavy Metals palette now comes in a refillable pan as part of our new Parallelo Palette modular system. That means if you blow through Gold Tooth faster than any other color, you can replace just that one, no need to rebuy the whole palette.
Whether you’re doing chrome outlines, chrome tips, or full-on molten metal nails, these setups give you maximum payoff without endless buffing, dust clouds, or 12-step routines.
Tools That Change the Game
Pressed Chrome Pigment (Heavy Metals, Pearl Solid)

What do these replace? Loose chrome jars, messy pigments, and pigment-lung.
These baddies are ultra-fine, high-grade chrome pigments (pressed, not loose), so they stay put until you’re ready to use them.
No more accidental spills. No more sneezing pigment for a week.
Our pressed chromes are compact, travel-friendly, and salon-proof. And the shades? Oh we've got you. They range from silver and champagne gold to mirror pearlescent realness so all your go-to metallics are covered.
Why it’s a win for both methods:
- In the Precision Method, they stick exactly where FinePrint tells them to.
- In the Quick Method, they go straight over Black Void without clinging where they shouldn’t.
Slick Matte Topcoat

The insider secret for clean chrome linework.
Slick Matte isn’t here to play velvety soft like Ceramic Matte. It’s slick, sealed, and smooth as a poster print. Chrome only sticks where it’s invited, and the excess pigment? It just slides right off!
Perfect for chrome French tips, outlines, and isolated accents. And if you’ve got sensory sensitivities? You’ll love the feel... matte to the eye, but buttery smooth to the touch.
Think of it as your chrome bouncer: only letting the right guests in.
Apply your base color, cure, layer on Slick Matte, cure again, then go in with your art gel and chrome like a pro.
FinePrint Art Gel

Meet your chrome magnet for outlines and detail work.
This low-viscosity, non-wipe gel cures glossy and smooth, making it perfect for creating mirror-finish details without topcoating (unless you want extra shine or protection).
Use it on top of Slick Matte, cure, then tap on the chrome (only your design will grab it).
Black Void Gel

Your ultimate shortcut. Base, color, and topcoat all in one bottle.
Black Void cures to a flawless, ready-for-chrome surface with no buffing, no extra sealing, no drama. Pair it with Heavy Metals and Hi-Def Topcoat for chrome in literally half the steps.
Where Clean Chrome Nails Shine Most
Creating clean chrome looks is about speed, control, and consistency.
- Quick salon fills: With Pressed Chromes, there’s no flying pigment. FinePrint + Slick Matte keep lines sharp, or go full coverage fast with Black Void.
- Beginner nail techs: The Precision Method forgives way more than loose pigment over a buffed surface. The Quick Method takes away the overwhelm entirely.
- Mobile setups or travel kits: Heavy Metals fits in your case, doesn’t spill, and doesn’t require a cleanup station. Black Void replaces multiple bottles.
Step-by-Step: The Precision Method
- Start with a cured base color. Pick whatever vibe you want underneath your chrome.
- Apply Slick Matte. Cure for 60 seconds under a 72W lamp.
- Create your design with FinePrint. Paint outlines, micro patterns, or French tips. Cure for 60 seconds.
- Tap on Pressed Chrome. It’ll only stick where FinePrint was cured.
- Brush or blow off excess. Any pigment on Slick Matte slides right off.
- Seal it in. Apply your final topcoat (Hi-Def is a favorite), cap the edge, and cure for 60 seconds.
Step-by-Step: The Quick Method (The Vex Way)
Want more than five minutes between clients? This combo is it. Bookmark it, Vexie.
Products Used:
- Black Void (base gel + pigment base + non-wipe top)
- Heavy Metals Pressed Chromes
- Hi-Def Topcoat
Here’s the breakdown:
- Black Void: base, color, and topcoat in one. Cure it.
- Tap on chrome: pick your shade from our pressed chromes.
- Dust off excess: it won’t cling where it’s not wanted.
- Topcoat with Hi-Def: lock in the shine and cure.
Why do it in seven steps when you can do it in four? You (and your clients) will thank you for every extra minute.
FAQs About Chrome Nail Design
Q: Can I use regular matte topcoat instead of Slick Matte for chrome linework?
Technically, yes. But Slick Matte is made for this, it repels excess pigment and keeps lines crisp.
Q: What makes pressed chrome better than loose pigment?
No mess. No waste. Better control. Pressed pigments give the same reflection without the cleanup.
Q: Do I need to topcoat over FinePrint?
Only if you want to. FinePrint cures glossy and smooth.
Clean Chrome Without the Stress
Clean chrome nails don't have to be a pain, they’re about choosing tools that work with you, not against you.
You still prep, cure, and seal. You’re just not spending 20 extra minutes fixing smudges, cleaning up dust, or redoing mirror lines.
Whether you love the precision of FinePrint + Slick Matte or the speed of Black Void + Heavy Metals, both routes get you to chrome perfection faster.
The easiest way to get clean chrome nail designs?
Ditch the buffing. Forget the mess. Use the setup that fits your flow and skip straight to the payoff.
Wanna Try It?
Here’s your starter pack for stress-free chrome:
Heavy Metals Solid Chrome Palette