If your current “organization system” is a pile of brushes in a coffee mug, three half-used builder bottles rolling around in a drawer, and pigments scattered like crime scene evidence… been there.
If you're a beginner in the nail world, setting up in the corner of your bedroom, take it from us (you're everything-nail-related-big-sis)... working in chaos gets old fast. You waste time. You lose focus. You knock over your topcoat trying to find the damn pigment pot.
But here’s the thing, most of us don’t need more containers.
We need fewer distractions and better systems.
So let’s break down how to organize your nail desk, whether it’s a full salon desk or a foldable tray table, so you can work faster, cleaner, and with way more clarity.
And by the way, if the pigment clutter’s getting a bit personal?
Just wait ‘til you see what we’ve been cooking behind the curtain.
1. Declutter by how you work (not what looks good on TikTok)
Let’s skip the minimalist acrylic bins and “what if I need this someday” guilt. Start with what’s real.
The first move to organize your nail supplies: pull everything out.
Now sort it by:
- Daily use
- Occasional use
- Haven’t touched it in 3+ months
That third group? Box it up for now. If you don’t reach for it within 30 days, it’s probably just taking up space. Keep your setup full of things that spark creativity, not “maybe someday” clutter.
Bonus tip for DIYers: if your setup moves around (desk to floor to vanity), keeping only the essentials makes clean-up 100x easier.
2. Set up your space by flow, not aesthetic
Sure, lining up your bottles by height or color looks cute. But does it help mid-set when your brush hand is covered in gel and you’re reaching for base coat?
Instead, organize your nail desk by your set rhythm:
- Prep tools (buffer, cuticle pusher, lint-free wipes) go closest to your dominant hand
- Bases, builders, and go-to brushes next
- Pigments and art tools behind that
- Topcoats and oils in the back (last step = last row)
Even if you're just doing your own nails at home, having a station that moves like your process keeps things smooth. Less fumbling. More flow.
Think like a chef: everything you need within arm’s reach. That’s how you keep it clean and creative.
3. The brush situation? We’ve been there.
Bent tips. Dusty bristles. Cap roulette. It’s giving Hunger Games: Brush Drawer Edition.
Whether you’re using 2 tools or 12, the real game-changer is knowing which ones actually earn their spot.
A brush worth keeping should:
- Hold its shape after cleaning
- Deliver pigment cleanly, no skipping or splitting
- Be something you’d replace if you lost it tomorrow
And if you’re tired of clunky caps, lost lids, or crushed detailers?
Let’s just say… we’ve been working on something that solves that. It’s basically the brush case glow-up you didn’t know you needed.
You didn’t hear it from us…. Yet.

4. Pigment chaos? We feel you.
It starts with one shade. Then five. Then 23 minis with missing lids and shimmer on everything you own. Suddenly you're five minutes deep swatching something just to find “that red… but the colder one… no not that cold…”
Here’s how to take your pigment drawer from unhinged to usable:
- Swatch on nail tips and tape them to the jar lid
- Use a binder ring to group similar tones (reds, chromes, wildcards)
- Store upside down if it helps you find colors faster and do what makes sense for your brain
And if your pigment game’s outgrown your storage game?
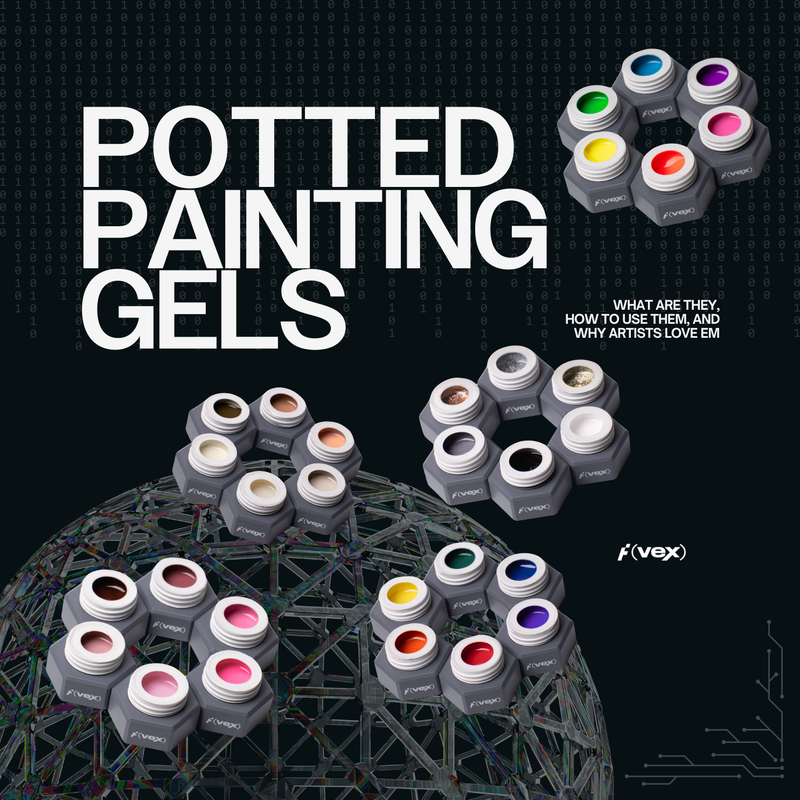
We may or may not be building a system that solves exactly that. Modular. Artist-designed. (Shhh. Watch this space.)

5. Structure over space: Small desk? No problem.
Whether you’ve got a rolling cart or a corner of the kitchen table, it’s not about how much room you have, it’s about how you use it.
Try this:
- Stack vertically (tiered racks for pigment jars = chef’s kiss)
- Use wall space: magnetic strips for metal tools, mini shelves for topcoats
- Keep backups (tips, wipes, files) in labeled pouches or bins you can rotate out
Got five drawers? Great. Got none? Even better, you’re forced to keep it clean.
6. Build a reset ritual
You know when you’re halfway through a set, the table’s a mess, and suddenly everything feels harder? That’s your sign to pause and reset.
Between sets, or even just once a week, take 5 minutes:
- Wipe your mat
- Close every jar
- Wash and reshape your brushes
- Restock wipes, buffer, alcohol
- Mentally close the file on that set
Whether you're juggling clients or just fitting nails in between classes, the ritual of resetting your space = clearer mind, smoother sets.
Think of it as clocking out… and back in, but better.
One Last Thing: The Products You Keep Matter
This season isn’t about buying more. It’s about building smarter.
That’s why we’re designing tools that simplify your station, like self-sealing brushes, pigment systems that actually make sense, and formulas like our Flex Tints that are gentle, versatile, and don't eat up half your drawer.
Your desk setup should work for you, not the other way around.
You Don’t Need a Bigger Desk. You Need a Smarter One.
Nail chaos doesn’t mean you’re messy. It means your tools aren’t set up to support the way you work.
So whether you're running a studio or working on your lap, here’s your permission to stop chasing the perfect “aesthetic” setup, and start organizing your nail supplies in a way that actually helps you create.
Because once your space starts serving you?
Your sets just hit different.


